Showing posts with label bees. Show all posts

Friday, November 9, 2012

Some Fall Blooms


I took a walk around the house today to get some pictures of what's blooming here in early November. The knock out roses, both the pink and the yellow, are still blooming. This is not unusual as I typically have blooms on them until early December and our first hard frost.

This Beauty Berry (callicarpa japonica) spilling through the split rail fence is at it's peak.

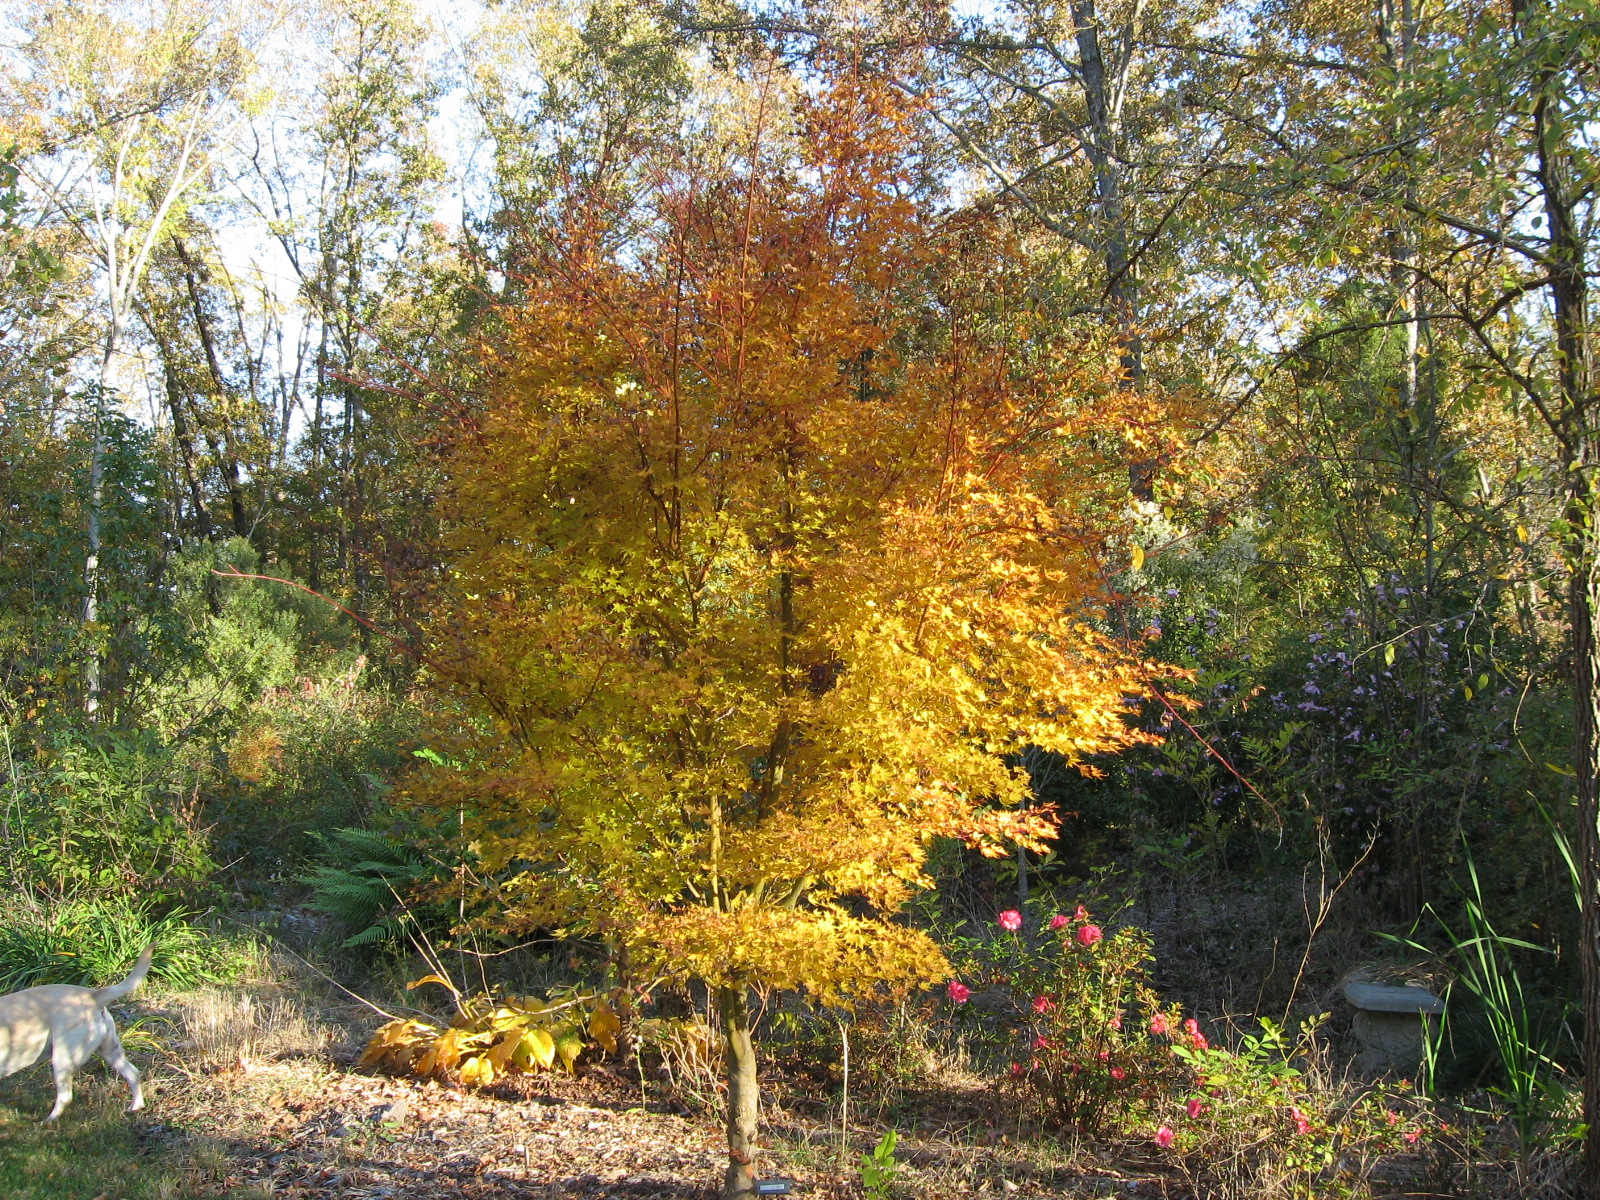
And while the Coral Bark Japanese maple isn't in 'bloom' it is quite beautiful this time of year!


What follows is a sampling of my sasanqua camellia collection. Not a collection so much as an assortment.  These shrubs do really well for use here and are very adaptable to our climate. They grow well in both full sun and part shade. No real pest problems to speak of. One year I had an outbreak of leaf gall (swelling and toughening of the leaves). I spent some time picking the affected leaves off, being careful not to touch the unaffected leaves. That seemed to have solved the problem.


 Snuck  in an Encore azelea bloom here in this picture.


This is an Oakleaf hydrangea. The leaves are a brilliant burgundy. 


Here we venture out into the veggie garden where we have some carrots and beets growing in the foreground. You may be able to make out the golden leaves of Simpson's black seeded lettuce in the background.

Here's a row of radishes. 

And here I've planted a much more reasonable amount of garlic this year. Last year I went way overboard and had far more than I needed and the bed got overrun with weeds. This year,  I might have around 50 plants.

Here you can see some of the strawberries I transplanted last weekend.

I am trying to let these broccoli plants go to seed this fall. I am hoping to be able to harvest my own seed to plant again in the spring. It may prove to be a waste of time, or free seeds, we shall see.


I am experimenting with growing some hard winter wheat this year. It looks pretty much like grass you find growing in your yard right now.

And the dogs enjoy eating the tender young shoots.

The bees get active on the warm days like this weekend. We are supposed to be up around 70 degrees for our high all weekend. 

You may be able to make out my blackberry plants in the picture below. I planted these 2 winters ago, the deer like to graze on them so I haven't had any berries yet. 

Here are some crimson clover seedlings coming up in one of the garden beds. I plant it as a cover crop to nurish the soil. I'll turn it under on the first dry day after mid-March. I want to give it 5 weeks or more to break down before I plant the summer crops in this bed. 

Here you can see I've cut down the asparagus stalks and top dressed the bed with a couple inches of compost. This one bed with 24 crowns is plenty to feed DW and I for about 6 weeks in spring. 

Tuesday, April 3, 2012

Catching a bee swarm

It's been a busy couple of days around here. We have a black snake that has made itself at home around here. On Friday I found it in the hen house with an egg in its mouth. It let go of the egg when I grabbed it by the tail and took it to the far end of the property. I like black snakes for the most part, they take care of any rodent problems and generally don't bother much. But if I find it back in the hen house, I'll make short work of it.
 Then this afternoon I found it out in the garden. If you look closely you'll see there are two black pipes there in the photo, one is actually the black snake. It looked like it was trying to molt so I just let it be. When I came back out in the early evening it was still in the exact same spot and I found that odd. So, I decided to take a closer look. It turns out the snake had managed to get tangled up in the deer netting as was quite stuck! I got out my pocket knife and cut it free (without so much as a thank you!).

But on to the more exciting stuff. On Friday evening we had a swarm of bees in the side yard…..again!. This is the second time in two years bees have shown up in the exact same spot.
It really is an amazing, and I imagine for those not familiar with bees frightening, experience to see a swarm of bees. It seems as if the sky is full of them. They are everywhere and make an almost cyclone like pattern flying in circles. 
 As you can see from the picture they settled on my electric meter. The last time they swarmed there, they were able to get behind the meter and into the space between my basement ceiling and the family room floor. I sealed up around the meter box with clear caulk so they could not get in this time. It was only two weeks ago that I had finally gotten around to fixing the holes I made in the wall/ceiling to get them out.
 I thought I'd try to capture this swarm and get a working hive from it.  I went out back and set up a hive box with some empty frames and a couple with some honey in them. I closed off the entrance to the hive as I didn't want them to get out for at least 24 hours. 
I got my bee suit on and went downstairs and mixed up a batch of sugar water and put it in a hose end sprayer. I sprayed the swarm with this (it prevents them from flying) and scraped them into an empty drywall bucket. I then took the bucket out to the hive box and dumped them in and quickly closed them up. I opened the entrance the next evening and I've been feeding them with a mixture of 1:1 sugar water. This weekend I'll open it up and see if I got the queen with the swarm and if she is laying fresh brood. If not, I may have to buy a queen for them.  

Monday, March 26, 2012

Installing a package of bees.

The two 3lb packages of bees I ordered were ready for pick up today. I ended up having to drive all the way out to Chester, SC to get them, but as good fortune would have it, I had the time this morning. I got them back home and went about installing the bees in two hive boxes. I had not leveled the hive boxes so I had to do that first. After leveling the hives I put ten frames of foundation in each and added an empty upper super on top of them. This leaves room to put a feeder can on top of the frames, and a space to pour the package of bees and still have room to put an inner cover and telescoping lid on and not crush any bees. I opened the package and removed the feeder can that came with it. The queen is in a small box with two or three tender bees and this was removed from the package. It is attached to the package with a small section of packaging tape. You can slide the queen box in between the two center frames in the hive box, and staple the packaging tape to the top of the frame to keep it from falling to the bottom of the hive box.
 Some of the queen boxes come with both ends corked, but one end will also have hard candy packed in one end. If this is the case, remove the cork from this end and install the queen box in the hive. If you get a queen box that does not have hard candy in one end, get a small marshmellow and stuff it in the end of the queen box. The bees will eventually eat through either the marsh mellow, or the hard candy and release the queen into the hive. This additional time allows the bees to become accustomed to their new queen.
 Once the queen box is in the hive you can place the feeder can in the top of the hive, and pour the bees in. Some folks like to spray a mist of sugar water on the bees before pouring them in. This keeps most of them from flying for the time it takes you to get them in the hive. I do not do this, I just pour the bees in, and then leave any that may still be in the package and place it in front of the hive. They'll find their way in.
 I also like to put a bottom board feeder in and reduce the entrance of the hive to no more than 1" wide. The small entrance is easier for the small hive to defend. Keep a good eye on the feeder, the bees will go through an entire feeder in a day when they are first installed. They need lots of energy and food to produce wax to make all that new comb.
 I think that just about does it, except that the girls softball team I help to coach, won their first game tonight in the most dramatic of fashion. They  fell behind going into the bottom of the sixth (the last inning)9-6 and had to come back to win. The girl who had the game winning hit had gone hitless up to that final at bat.  Well, actually she had a hit in her previous at bat, but had thrown the bat so was called out. She was very distraught about that, so it was nice to see her get a chance to redeem herself, and she came through like a trooper.


Sunday, February 19, 2012

Early veggie planting weekend.

It was a busy weekend here. I had practice with the softball girls on Friday evening. That always leaves me a little sore.  Then on Saturday we had rain forecast in the afternoon and I was racing to get as much done as possible. I started the day planting 10 each of Yukon Gold and Kennebec potatoes. I spaced them about 12" to 15" apart at about 8" deep. I then turned my attention to the broccoli and cabbage plants I've been growing under lights for the past month. I ended up planting a dozen each of the Atlantic and Early Purple Sprouting broccoli plants. I planted 9 Golden Acre cabbage and 3 Red Danish. Along with this I put in 9 heads each of Iceberg and Great Lakes lettuce.  I also seeded a couple rows of spinach, beets, Chinese cabbage and a block of Black Seeded Simpson's lettuce.  All that is left of the early spring planting is some more radish, spinach and lettuce. I'll stagger the planting of each to have a continual harvest of each.
 I also got the DW to help me remove the cover from the pool. We use a large net to cover the pool from late September through March. It catches all the leaves and keeps them out of the filter system. Some years the leaves are many, and the task takes three of us. There were not many leaves this year and for that I am thankful. The DW takes care of the pool for the most part.
 After getting that wrapped up, I got the back yard cut and a small section of the front that seems to grow faster than the rest of the front yard. And I managed to consume a few adult malt beverages as well.

  I also got some seeds started. I did a container of dill, Wave petunias, Vincas, and Torenia. I harvested my own seeds from the Torenia again this year. So far I haven't seen any adverse effects of saving my own seeds of this plant.
 I also started putting together some new frames for the two bee hives I have to get out. I ordered two packages of bees for pick up at the end of March.  I lost my first hive the year before last, and did not get around to replacing it last year. I enjoy working with the bees, and the hive. The honey and pollination are also benefits. If you have the chance, be sure to purchase some local honey that hasn't been pasteurized and had the good natural taste taken out. It is said that eating local honey will help lesson the effects of allergies.

There on the left is a completed frame. It has a wire reinforced sheet of wax foundation held between the four sided frame. Ten of these fit into each hive box and the bees make wax cells on them and lay eggs and store both pollen and honey in the cells. That yellow thing on the back right is a hive feeder. When you need to feed your bees (early spring and late fall and sometimes in winter if the bees haven't stored enough honey for the winter) you fill that up with a sugar and water mix and it fits into the hive opening.